herbat73.github.io
IT How-To Guides
4. Encrypting Tomcat Connections with Apache
Follow these steps in order to setup a SSL-enabled proxy to secure user connection with Tomcat server.
We will use reverse proxy model. The Apache web server will handle request with Let’s Encrypt free SSL certifcates and then proxy requests to Liferay running on Tomcat server.
Step 1 - Install Apache server
You can get Apache installed on your server throughapt-get
Enter command
sudo apt-get install apache2
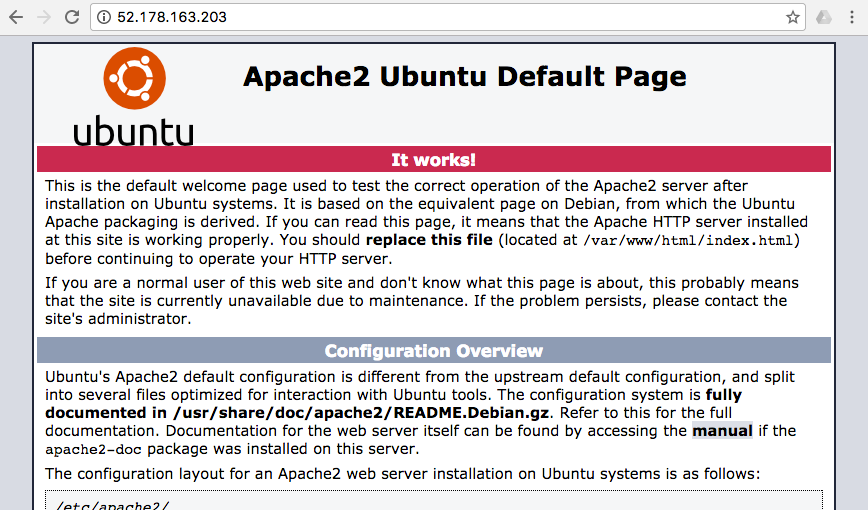
You can test if Apache server is running by entering in the browser ip address of your server.
You should see Apache welcome screen.
Alternatively you can check if server is running on port 80 by using netcat tool
nc -zv localhost 80
It should give you response
Connection to localhost 80 port [tcp/http] succeeded!
Step 2 - Create reverse proxy
Now we need to install additional proxy and rewrite modules for Apache
sudo a2enmod proxy
sudo a2enmod proxy_http
sudo a2enmod rewrite
And one more for plug-in that handles the communication between Tomcat and Apache.
sudo apt-get install libapache2-mod-jk
We need to configure the JK module. Edit the configuration file located at /etc/libapache2-mod-jk/workers.properties
Open in text editor with sudo privelages like
sudo nano /etc/libapache2-mod-jk/workers.properties
Inside the the file find find theworkers.tomcat_home parameter.
Originally it is setup like
workers.tomcat_home=/usr/share/tomcat8
You should change it to your Liferay tomcat home. In our case it should be
workers.tomcat_home=/home/myusername/liferay-ce-portal-7.0-ga3/tomcat-8.0.32
Adjust the value to your particular username and installation folder.
Save the file.
Now, we will modify apache http port to forward handles to tomcat worker.
Open apache config file /etc/apache2/sites-available/000-default.conf
sudo nano /etc/apache2/sites-available/000-default.conf
Add line JKMout for instance after DocumentRoot
<VirtualHost *:80>
...
ServerAdmin webmaster@localhost
DocumentRoot /var/www/html
JKMount /* ajp13_worker
..
</VirtualHost>
Save and close the file. You can validate your apache configuration by entering
sudo apache2ctl configtest
You might notice warning like this
AH00558: apache2: Could not reliably determine the server's fully qualified domain name, using 10.3.4.6. Set the 'ServerName' directive globally to suppress this message
Syntax OK
Do not worry. It is easy to fix. Open apache configration file
sudo nano /etc/apache2/apache2.conf
Add line at the end
ServerName xx.xx.xx.xxx
where xx.xx.xx.xxx is your server ip address or server name.
When you check again
sudo apache2ctl configtest
It should give you clear message
Syntax OK
Restart apache service to enable installed modules
sudo service apache2 restart
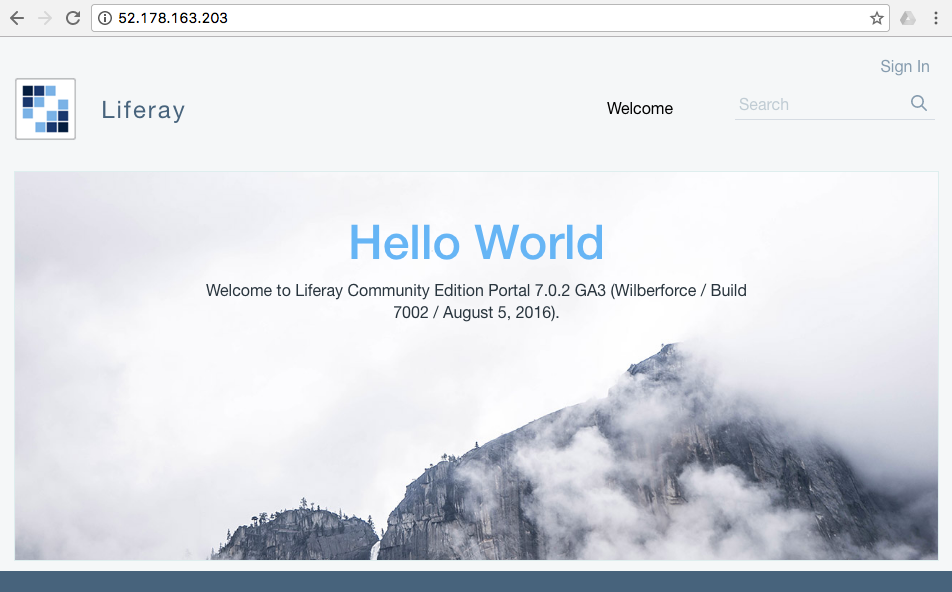
Now, if you enter only serever ip adress apache forwards call to Liferay tomcat server.
Step 4 - Generate Let’s Encrypt Certificate
The easiest way is use apt-get repository and install from official repo.
sudo apt-get install python-certbot-apache
You can validate letsencrypt installation by displaying help
letsencrypt -help
Now, the most tricky thing. Generate certificate in one command.
sudo letsencrypt --apache -d example.com
where example.com is your domain. Adjust the command above to start the process.
One remark.You need make changes in your DNS to point to this sever otherwise the process will fail.
When it starts it will show the screen like this
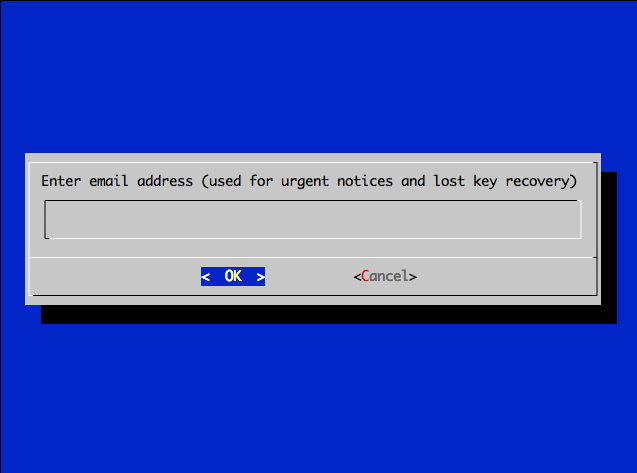
Enter e-mail address. On this e-mail address you will get reminders about SSL certifacte expiration. These are valid only for 3 months but no worry. We will show how to automate this process in one line and generate certifacates when you sleep.
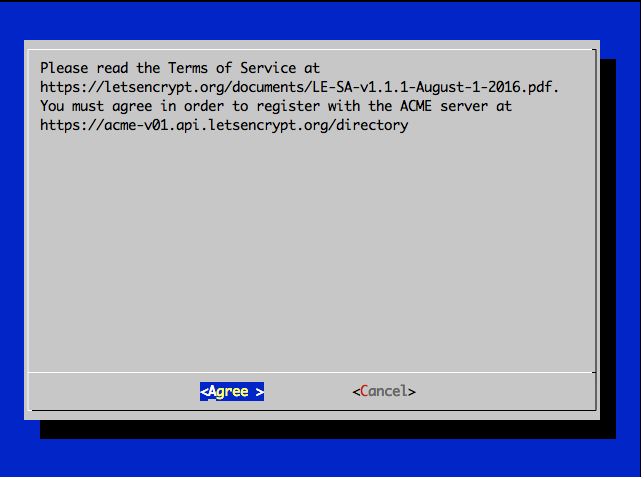
Anyway, please agree for Let’s Encrypt terms and condtions.
Now, it is time to choose if you want to forward all calls to https connection or you want to use both.
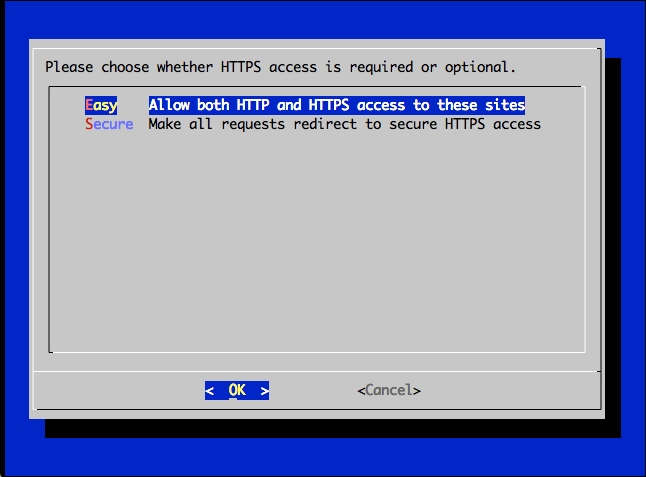
You can simply choose Serure and forward all http conection to https even if user forgot to enter https in the browser.
It will take serveral seconds and your server SSL certifatates will be generated. No credit card, no registartion process, no validation. Simply awesome.
Step 4 - Autorenew the Let’s Encrypt Certificate
The simplest way is use time-sheduler job tool. Run the command.
sudo crontab -e
You will get info like this
Select an editor. To change later, run ‘select-editor’.
-
/bin/ed
-
/bin/nano <—- easiest
-
/usr/bin/vim.basic
-
/usr/bin/vim.tiny
Our favorite tools is nano so we choose 2
Go to the end of the cron tab list and add text line
@monthly sudo letsencrypt renew >> /var/log/le-renew.log && sudo service apache2 restart >> /var/log/apache-restart.log
Save it.
What will happen?
- Every month the job will start and run automatically Let’s Encrypt renew certifates process on this sever.
- The process will save the log to the file located at
/var/log/le-renew.log - After generation new certificate apache service will be restarted in order to use new certifates.
You can modify the cron job to run specific time as you like it.